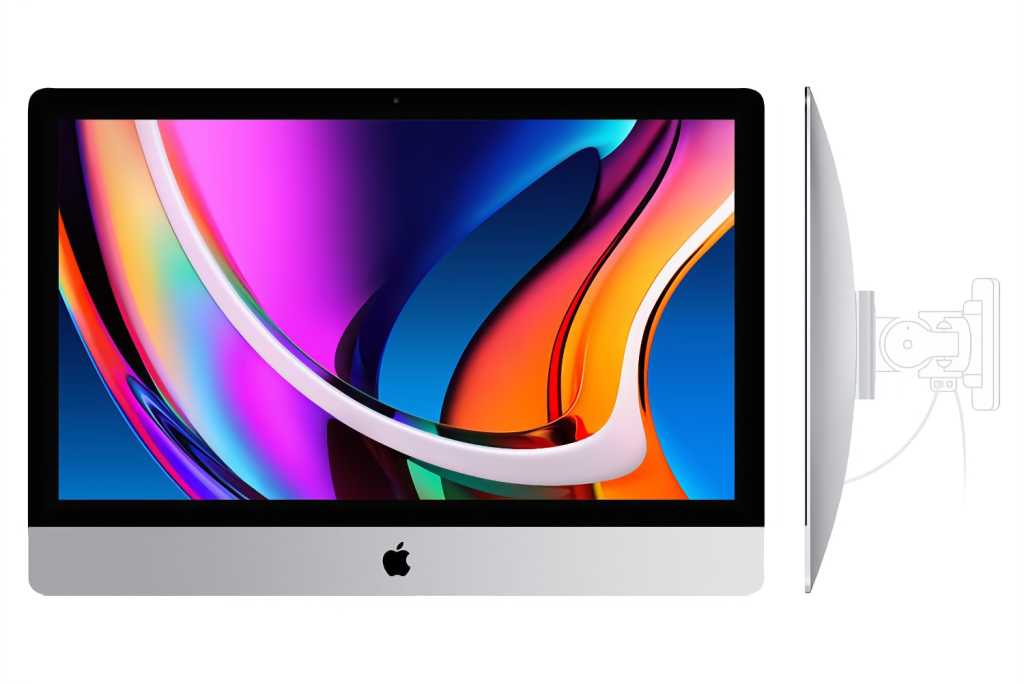
Once upon a time, Apple was all over the iMac VESA wall-mounting standard. With the iMac as the world’s premier all-in-one, it made perfect sense to offer buyers a post-purchase option if they wanted to clear space on their desk, or use a stand that allowed for adjustment of the height and horizontal viewing angle. Apple was a bit mercenary about it, charging a cool $80 for a very simple adapter, but it was a decently easy operation to switch from a stand to a VESA mount and back again.
All that changed with the advent of the thinner-profile iMac that was introduced in 2012. The iMac’s set screws were rotated 90 degrees forward and are no a longer accessible without disassembling the entire computer right down to the motherboard. That means that now you have to decide at the initial iMac purchase to buy an iMac with a VESA mount for an extra $40. The task of switching from a stand to a VESA mount is so daunting that most users will forego VESA and just live with the stand.
Like the previous 21-inch and 27-inch iMacs, Apple offers a VESA option for the new 24-inch iMac but isn’t charging a $40 fee anymore. The VESA iMac costs the same as the standing iMac, but it’s a decision you’re going to need to make when you buy it. We haven’t gotten a chance to test the new iMac yet, but based on the pictures Apple provides as well as our experiences with previous iMacs, adding a VESA mount after the fact won’t be for the faint of heart, if it’s possible at all.

You have to decide at purchase if you want a VESA mount. If you buy an iMac with a stand and then decide later to wall mount it, prepare to do some handiwork.
Apple
VESA variations
There isn’t a single VESA mounting option. The standard is little more than a definition of where bolt holes go, the type and size of the bolts used, and how much weight can be supported. Ergotron has a helpful VESA specifications chart and you can learn more about the VESA standard here.
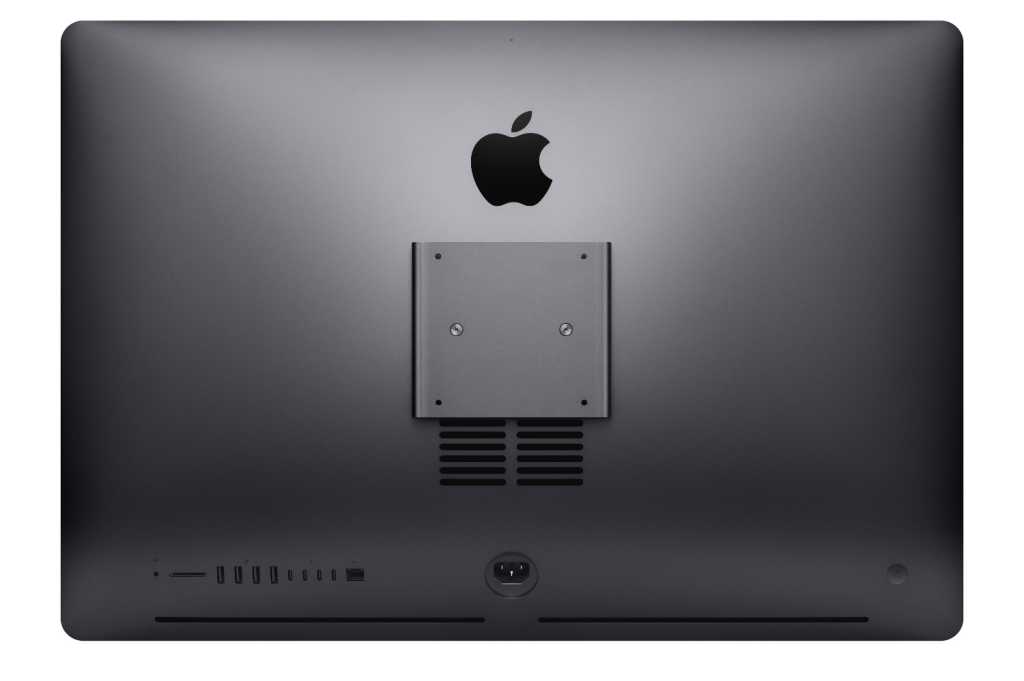
The good news is that, if you have an Intel iMac, you can add VESA compatibility. It just won’t be as elegant as a native Apple solution unless you’re really adventurous and fabricate your own adapter or locate a used Apple one. Apple actually sold an aftermarket VESA adapter for the iMac Pro before it was discontinued, but it doesn’t work with other iMacs due to the location of the set screws. But if you have an iMac Pro with a stand and want to add VESA support, it shouldn’t be too hard to track an adapter down.
We haven’t seen the new 24-inch iMac in person yet, so we don’t know about the extent of its VESA compatibility. You can buy one from Apple with a VESA mount instead of a stand, but we don’t know yet if you can buy one with a stand and convert it to VESA at a later point. However, based on the pictures Apple provides on the ordering site, the VESA option is higher on the iMac and quite a bit different, so it’s unlikely to be an easy post-market change.

The discontinued iMac Pro was able to be mounted with a VESA adapter after purchased with a stand.
Apple
Do-it-yourself adapter
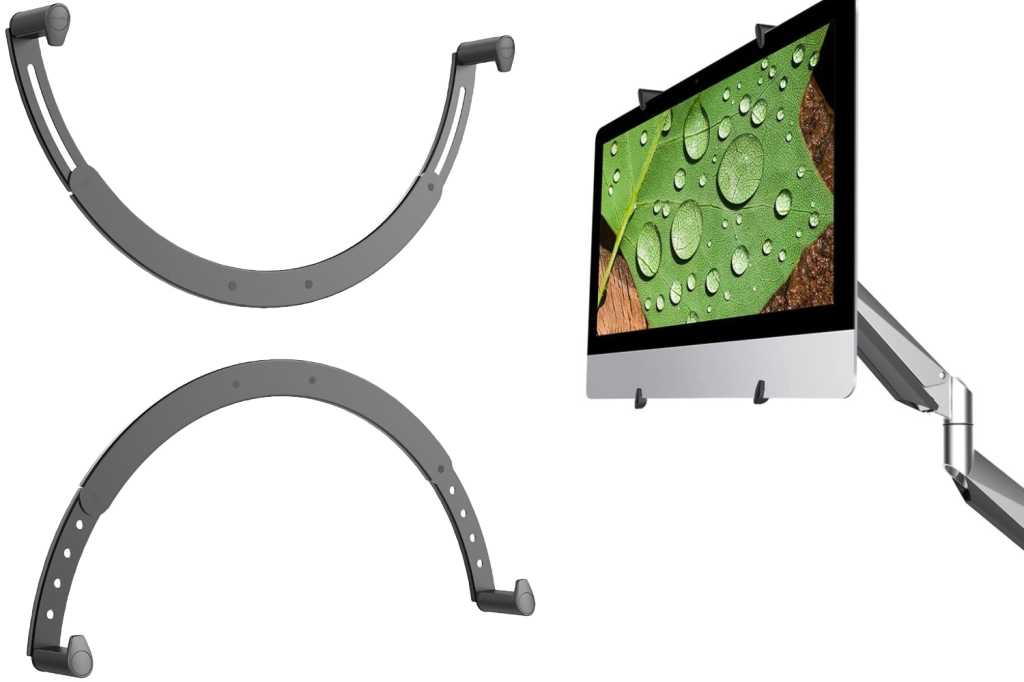
By far and away the easiest and least destructive way to VESA mount your iMac is a clamp-on adapter such as these from Vivo and Locktek. I might opt for the former as there’s far less chance of slippage if you move past the horizontal. The latter, however, seems far easier to install. Both are inexpensive options that don’t require you to fold, spindle, or mutilate your stand or the shell.
You might wind up with minor scratches where the mount attaches, but otherwise, your iMac stand will remain intact. On the other hand, the stand is still visible so it’s not as elegant as switching to an integrated VESA mount. The stand also adds weight and might up the ante on which mount or arm you need to buy. It should fit the 24-inch iMac as well, but again, we don’t know how or if the stand detaches from the screen, so it might remain visible.
If you’re exceptionally skilled or brave (disassembly may be required), another way to VESA compatibility is to drill compatible bolt holes directly into the stand or shell. You’re on your own for the latter—I’ve never actually heard of anyone attempting this, and there’s a more elegant way that I’ll describe in a bit. And the new iMac is so thin, this method is even trickier.

Loctek sells an adapter (left) that you can use to attach the iMac to a VESA-compliant wall mount adapter or arm.
Loctek
With the stand, however, there’s easily enough room above the cable feed hole on the Intel iMac to drill a 75 millimeter, four-corner pattern. Optionally, for cosmetic purposes, you can cut off the bottom of the stand so it’s not visible, though this obviously means you’ll never be able to use it, at least without some sort of brace. It’s also likely to reduce the resale value of the iMac.
Here’s the basic procedure:
- Get VESA adapter plate and secure it in place above the cable feed hole with tape or clamps.
- Carefully mark the holes using the adapter as a template.
- Drill the holes.
- Attach the mount.
Before you start the process, make sure the body of the iMac and the glass are well protected. That includes something extremely tough like a block of wood between the stand and the iMac to protect it when the drill bit pops through the metal. Make sure the protective piece is secured in place. Drill in stages, keeping a close eye on the depth of the bit/hole. When you’re nearly through, back way off on the pressure and let the bit do the work.
Advanced DIY (or have someone else do it)
Now I’m going to address the distinct minority of the iMac community who have the ability and gumption to disassemble their iMac, as well as fabricate simple metal parts. Alternatively, the brains to let someone who really knows what they’re doing handle it.
Important note: Macworld and I take absolutely no responsibility for any damage you do to your iMac during any step of any alteration or use of a homemade adapter. I’m merely pointing out possible paths to VESA compatibility for those willing to take a risk—an extremely slight one if you’re capable.
The mount assembly is much the same as the old one with the major difference being the aforesaid orientation of the set screws. Thus, all you really need to do is fabricate a short adapter that will attach to the mount assembly internally, extend beyond the shell of the iMac, and attach to a VESA mount plate. Not unlike the original iMac VESA adapter.
With the proper shaped piece of metal all you really need is a tap and die kit to create threaded bolt holes, plus perhaps a drill for the VESA mount plate. After making sure the part fits through the access port, I’d remove the mount assembly and work with it on its own.
Just FYI, I have seen mention of a prefabbed adapter on the web that replaces the entire assembly, but have yet to actually find one for sale. (Let us know if you spot one that’s really available.) Note that iFixit also provides an excellent guide to taking apart and reassembling iMacs.
To support the full weight of an expensive iMac, you need to use top-quality metal stock and parts. And don’t skimp on the number of bolt/screw holes—there’s a reason Apple uses eight. The workmanship will have to be first-rate as well. In other words, the adapter needs to be over-engineered and skillfully fabricated, not just “good enough.”
Beefy mounts required
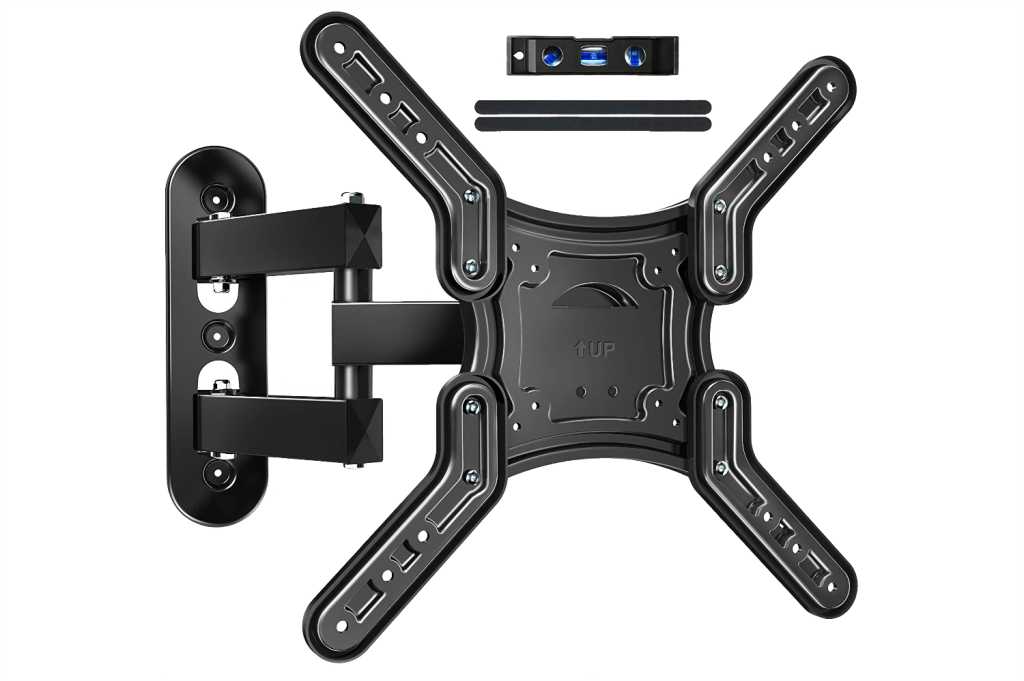
No matter which route you take—clamp, drill, or fabricate—you’ll need a rather robust arm or wall mount. The iMac with its all-metal shell and stand is heavy for a modern computer—about 20 pounds for the 27-inch model. If you don’t care about fine positioning or height adjustment, you can go with a standard wall mount such as this one from Juststone. Anything made for a TV will easily hold up an iMac as long as it supports the 75mm pattern.

Once you’ve figured out how to get the iMac to be VESA compliant, then you can look at arms or wall mounts like this one from Juststone.
Juststone
If you want something that allows free positioning both horizontally and vertically, i.e., a fully articulating monitor arm, then you’re going to need something along the lines of this Ergotron mount that can handle the weight.
I’d skip any mount that won’t support at least 20 pounds for a 21.5-inch iMac, and 30 pounds for a 27-inch model. I’ve tried toeing the limit and I had to tighten the heck out of every joint on the arm to get the display to stay in place. And that was with a display far lighter than a 27-inch iMac.
You should also know that there’s a minimum weight for freely articulating monitor arms. A 21.5-inch iMac weighs only 12 pounds, and the 24-inch iMac is even lighter at under 10 pounds, including the stand. That’s near the lower limit of what a super heavy-duty arm requires to counteract its native springiness/tension. Go below that limit and your iMac will simply float about at the top of the arm’s range of motion unless you somehow lock it in place. So before you rush out to buy a VESA arm for your new iMac, check that it falls between the maximum and minimum weights for a mount, arm, or stand before you buy it.
Unless you really need your iMac flat against the wall, need to constantly reorient it, or it must hover over something you can’t set it on, you might explore simpler options. A plain height-adjustable stand like this one from BoYata or swiveling base such as this one from Hokistudio might do the trick. I have a 27-inch iMac sitting on a rack-mount power strip and another on a large audio interface. I’ve also used bricks.
Consider buying VESA from the onset
It’s obvious from the iMac Pro that Apple can still make a convertible mounting system for high-end iMacs. Failing that, they could sell the newer adapter to those with out-of-warranty iMacs. But they don’t. I’ve laid out your options, and as I said earlier, seriously consider the VESA version if you purchase new. And again, perhaps grab a used stand in case you want to switch.


